
Google provides an easy to use library that is able to handle the payment and querying tasks and shields away lots of the complexity behind it. In this article I present how I implemented the In-App billing functionality for my Live Wallpaper and how I solved the problems that I faced.
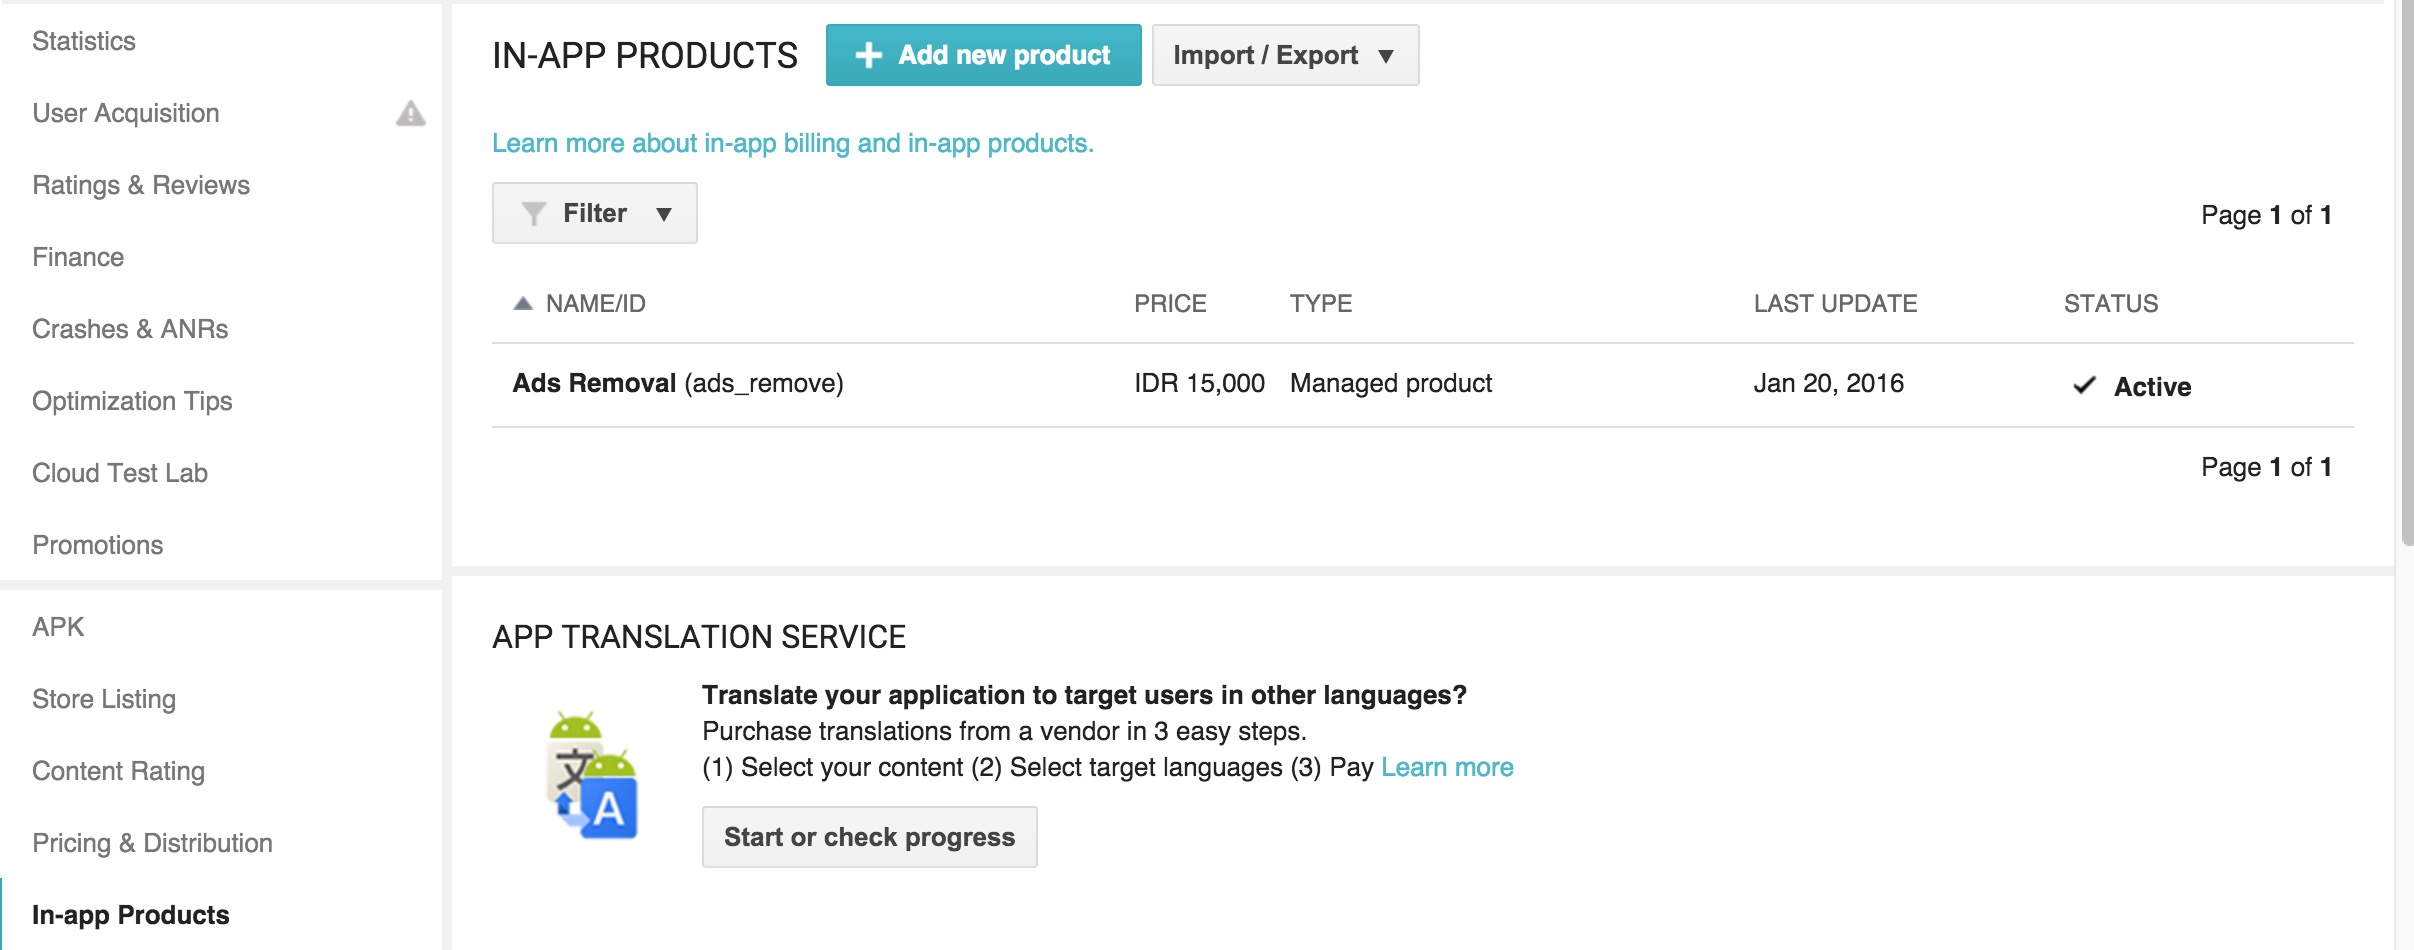
To be able to offer an In-App product, it has to be configured within the Play Store:
The Buy-Activity
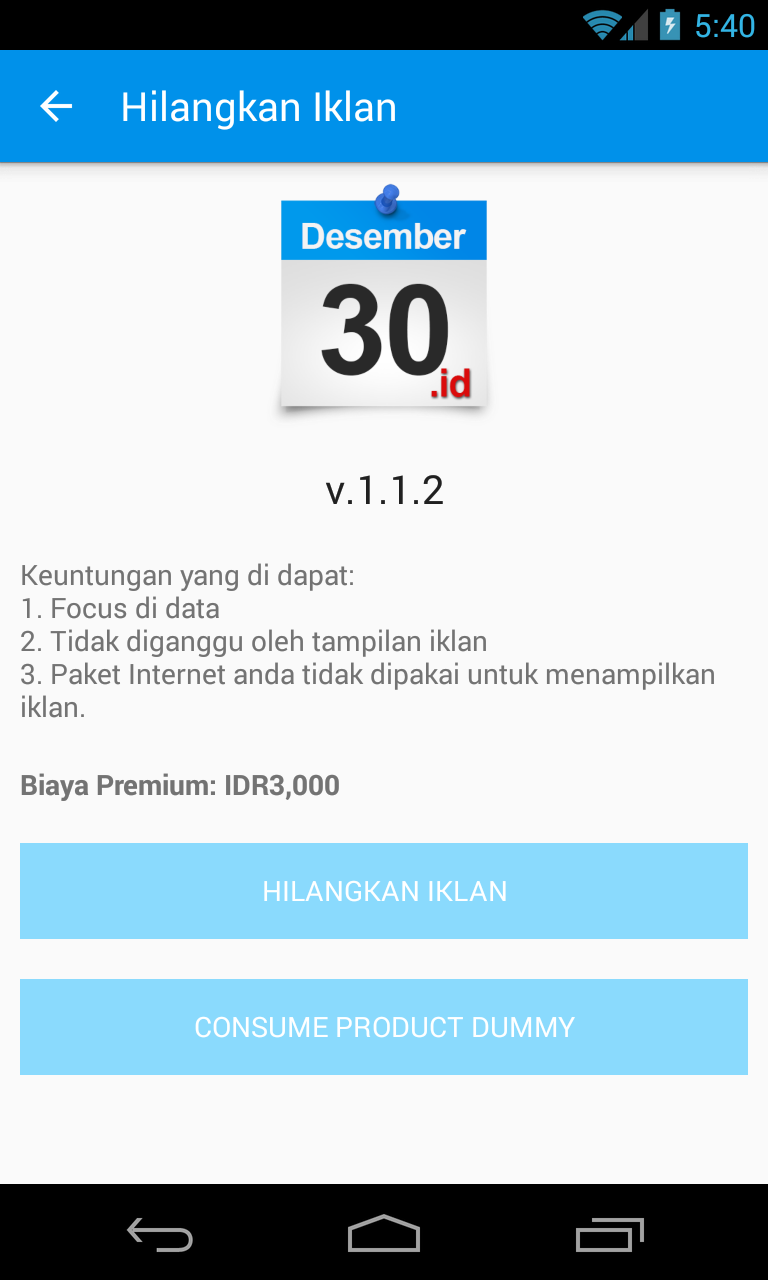
To give the user a chance to buy the in-app product, I created aBuyPremiumActivity. This Activity shows a text that explains what advantages the premium version has, the price of the app and a button to actually buy it:
Initializing the In-App Billing API
The first task when starting this Activity is to query the Billing API to return the price for the app. This is done while initializing the API:
|
1 2 3 4 5 6 7 8 9 10 11 12 13 14 15 16 17 18 19 20 21 22 23 24 25 26 27 28 29 30 31 32 33 34 35 36 37 38 39 40 41 42 43 44 45 46 47 48 49 50 51 52 53 54 |
@Override protected void onCreate(Bundle savedInstanceState) { super.onCreate(savedInstanceState); [...] // Initially, disable the "buy me" button butBuy.setEnabled(false); buyHelper = new IabHelper(this, PUBLIC_KEY); buyHelper.startSetup(new OnIabSetupFinishedListener() { @Override public void onIabSetupFinished(IabResult result) { if(result.isSuccess()) { // Fill a list of SKUs that we want the price infos for // (SKU = "stockable unit" = buyable things) ArrayList moreSkus = new ArrayList(); moreSkus.add(SKU_NAME_PREMIUM); // We initialize the price field with a "retrieving price" message while we wait // for the price final TextView tvPrice = (TextView)BuyPremiumActivity.this.findViewById(R.id.price); tvPrice.setText(R.string.waiting_for_price); // Start the query for the details for the SKUs. This runs asynchronously, so // it may be that the price appears a bit later after the rest of the Activity is shown. buyHelper.queryInventoryAsync(true, moreSkus, new QueryInventoryFinishedListener() { @Override public void onQueryInventoryFinished(IabResult result, Inventory inv) { if(result.isSuccess()) { // If we successfully got the price, show it in the text field SkuDetails details = inv.getSkuDetails(Billing.SKU_PREMIUM); String price = details.getPrice(); tvPrice.setText(price); // On successful init and price getting, enable the "buy me" button butBuy.setEnabled(true); } else { // Error getting the price... show a sorry text in the price field now tvPrice.setText(R.string.cant_get_prices); } } }); } else { // If the billing API could not be initialized at all, show a sorry dialog. This // will surely prevent the user from being able to buy anything. Billing.showSorry(BuyPremiumActivity.this, R.string.cant_init_billing_api); } } }); [...] } |
The PUBLIC_KEY constant contains the public key for your App you can find in the Google Play Developer Console. Google suggest to split this string, rearrange and recombine it again during runtime to not make it too easy for hackers to extract out your key from just getting the strings out of your APK file.
The SKU_NAME_PREMIUM contains the id that you gave your In-App item in the Google Play Developer Console. But when testing your In-App Payment, you should use the String “android.test.purchased” (or another one of the available static test-SKUs). In these cases, you will always get a predefined response when you buy something in your app. This is really useful when testing your Payment implementation. But note, that later, when you query the products a customer owns, this test flag will not stay for long. I encountered, that after some time this gets reset and the app will think the item has never been bought.
Integrating the In-App Library into the project
The IabHelper class comes from the Google In-App Billing sample project. Together with all the other classes in the same package, it is a powerful helper library when working with In-App Payment. The sample project can be downloaded using the SDK Manager is located in the directory Android-SDK/extras/google/play_billing/samples/TrivialDrive.
When integrating this library into you project, make sure you…
- Copy the file Android-SDK/extras/google/play_billing/IInAppBillingService.aidlusing the exact same package to your project
- Copy all the classes under Android-SDK/extras/google/play_billing/samples/TrivialDrive/src/com/example/android/trivialdrivesample/util/* – but here you are free to change the package names.
Of course you need to add the BILLING right to your AndroidManifest.xml file to enable the billing:
|
1 |
Testing Payments
If you are intensive testing your In-App payment, you will want to do the payment lots of times in a row while fixing bugs – no time to wait until the flag gets reset automatically. To be able to buy the in-app item again, you have to consume it. To do so, use the following code:
|
1 2 3 4 5 6 7 8 9 10 11 12 13 14 15 16 17 18 19 20 21 22 23 |
Purchase pp = null; try { pp = new Purchase("inapp", "{\"packageName\":\"PACKAGE_NAME\","+ "\"orderId\":\"transactionId.android.test.purchased\","+ "\"productId\":\"android.test.purchased\",\"developerPayload\":\"\",\"purchaseTime\":0,"+ "\"purchaseState\":0,\"purchaseToken\":\"inapp:PACKAGE_NAME:android.test.purchased\"}", ""); } catch (JSONException e) { e.printStackTrace(); } buyHelper.consumeAsync(pp, new OnConsumeFinishedListener() { @Override public void onConsumeFinished(Purchase purchase, IabResult result) { if(result.isSuccess()) { Toast.makeText(BuyPremiumActivity.this, "Purchase consumed!", Toast.LENGTH_SHORT).show(); } else { Toast.makeText(BuyPremiumActivity.this, "Error consuming: "+result.getMessage(), Toast.LENGTH_SHORT).show(); } } }); |
Replace PACKAGE_NAME in the code above with the package name of your app.
I placed another button next to the “buy me” with this code to easily do a buy / consume / buy / consume flow while testing the payment implementation.
The Purchase Flow
This is how I implemented the buying process:
|
1 2 3 4 5 6 7 8 9 10 11 12 13 14 15 16 17 18 19 20 21 22 23 24 25 26 27 28 29 30 31 32 33 34 35 36 37 38 39 40 41 42 43 44 45 46 47 48 49 50 51 52 53 54 55 56 57 58 |
@Override protected void onCreate(Bundle savedInstanceState) { super.onCreate(savedInstanceState); [...] butBuy.setOnClickListener(new OnClickListener() { @Override public void onClick(View v) { // Disable the button after the click to prevent double clicks butBuy.setEnabled(false); // Start the purchase flow buyHelper.launchPurchaseFlow(BuyPremiumActivity.this, SKU_NAME_PREMIUM, Billing.BUY_REQUEST_CODE, new OnIabPurchaseFinishedListener() { @Override public void onIabPurchaseFinished(IabResult result, Purchase info) { if (result.isSuccess()) { // Successful - the item has been payed for // We set a vale in the shared preferences to mark this app as // being the premium version SharedPreferences prefs = PreferenceManager .getDefaultSharedPreferences(BuyPremiumActivity.this); prefs.edit() .putBoolean( PremiumHandler.KEY_PREMIUM_VERSION, true).apply(); // Start the Settings Activity together withe the info, that // the user just bought this app - in this case we show a // "thank you" Dialog. // // The flag "CLEAR_TASK" is important, so the user is not sent // back to this buy activity when he presses the back button. // Intent intent = new Intent( BuyPremiumActivity.this, SettingsActivity.class); intent.setFlags(Intent.FLAG_ACTIVITY_CLEAR_TASK | Intent.FLAG_ACTIVITY_NEW_TASK); intent.putExtra(Billing.KEY_FIRST_BUY, true); startActivity(intent); } } }); } }); } @Override protected void onActivityResult(int requestCode, int resultCode, Intent data) { super.onActivityResult(requestCode, resultCode, data); // Delegate the answer from the purchase request to the buying helper - necessary // to let it handle the answers from the backend buyHelper.handleActivityResult(requestCode, resultCode, data); } |
Don’t forget to cleanup after ourselves when the BuyActivity ends:
|
1 2 3 4 5 |
@Override protected void onDestroy() { super.onDestroy(); buyHelper.dispose(); } |
Check if the user has bought the In-App Item
So far, this offered a way for the user to see the price and buy our In-App item. Now I have to make sure, that the customer gets a value for his purchase. I have to determine at each start of the application, whether the customer owns the In-App item to decide to run the demo or the premium version of the app.
On a successful purchase flow, I save a flag “premium = true” to the shared preferences to indicate, that the user owns the app. While this may seem sufficient at first, it has several drawbacks:
- A rooted user can just change the xml file containing the shared preferences data and so switch the app to think its a premium version without paying for it.
- When a customer switches his phone or reinstalls the app after deleting it, he has lost his premium status although Google still thinks the customer still owns it and refuses a re-buying of the item.
To circumvent these drawbacks, I have to check with Google Play Store each time the app starts whether the customer owns the In-App Item that indicates the premium version of the app. This check is done asynchronously again – it may take up to a second until we get a response. I have to wait for the results before I can show the final User Interface, because which interface is shown depends on the result of the check.
To not block the UI while waiting for the results, I places another Activity in front of all the others. This Activity starts the In-App product check and on its completion, launches the demo or the premium Activity, depending on the results.
After the check is completed, I update the shared preferences value to reflect the correct premium/demo state. The reason is: All other parts of the app can now just use this flag and do not need to bother with the payment API.
|
1 2 3 4 5 6 7 8 9 10 11 12 13 14 15 16 17 18 19 20 21 22 23 24 25 26 27 28 29 30 31 32 33 34 35 36 37 38 39 40 41 42 43 44 45 46 47 48 49 50 51 52 53 54 |
private void checkForPremium() { final IabHelper buyHelper = new IabHelper(this, Billing.pubKey); // Default is false for premium version SharedPreferences prefs = PreferenceManager.getDefaultSharedPreferences(this); prefs.edit() .putBoolean(PremiumHandler.KEY_PREMIUM_VERSION, false) .apply(); // initialize the InApp Billing system buyHelper.startSetup(new OnIabSetupFinishedListener() { @Override public void onIabSetupFinished(IabResult result) { if (!result.isSuccess()) { // On error, say sorry and leave the app in demo mode Billing.showSorry(SettingsActivity.this, R.string.sorry_billing_connect, result.getMessage()); buyHelper.dispose(); return; } // Get a list of all products the user owns buyHelper.queryInventoryAsync(new QueryInventoryFinishedListener() { @Override public void onQueryInventoryFinished(IabResult result, Inventory inv) { if (result.isFailure()) { // If we could not get a list of the owned SKUs, say sorry and keep the demo version Billing.showSorry(SettingsActivity.this, R.string.sorry_getting_owned_products, result.getMessage()); buyHelper.dispose(); return; } else { boolean isPremium = inv.hasPurchase(SKU_NAME_PREMIUM); // Set the shared preferences to premium=true if the user owns it SharedPreferences prefs = PreferenceManager. getDefaultSharedPreferences(SettingsActivity.this); prefs.edit() .putBoolean(PremiumHandler.KEY_PREMIUM_VERSION, isPremium) .apply(); buyHelper.dispose(); // Forward to the currect activity depending on premium / demo mode if (isPremium) { // TODO start premium activity } else { // TODO start demo activity } } } }); } }); |
Now all the necessary elements for the In-App payment are implemented. Users can buy the In-App Item that represents the premium version of the app. On every start of the app (in my case: the Settings Dialog), Google is asked for the products the user owns and the premium state of the app is set accordingly. The state is copied over to a shared preferences entry to let all other parts of the App access this information easily.
Should the customer decide to give back his purchase, the ownership of the customer for the InApp item will vanish, and so the premium state of the app on its next launch.
I hope this post helped you in implementing your own In-App Billing implementation. If you have any questions or comments, I’d be glad if you’d share this article or leave a message in the comments section below. (from here)
Comments are closed, but trackbacks and pingbacks are open.